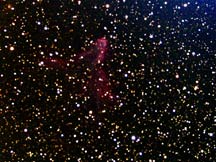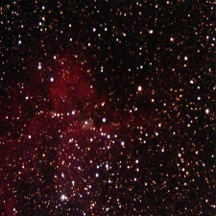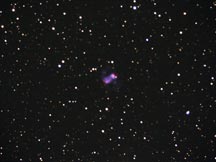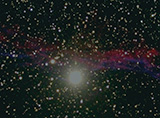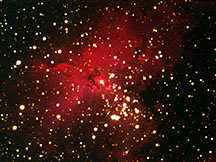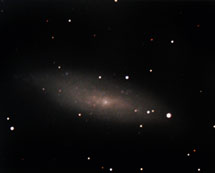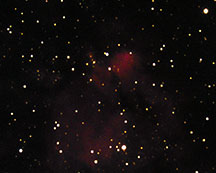
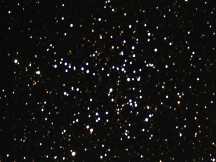
Jesse Nickell: Auriga Open Cluster, M38, NGC1912, constellation: Auriga. 12'' Mead st 2000xcm (Big Scope) photo. Nov. 25, 2014. 8:09pm, Cabrillo Observatory Dome, temperature: -30c, declination: 36 degree's. CCDOps: version 5.1, Dark Subtract, Auto Apply, Flat Field, Single Shot Color Process, sRGB+gamma, saved image, repeated steps for 2nd photo. Registrax: version 6. Stretched intensity levels, set parameters correctly, pick/click allignment star, checked stack size, limit button, Optimize & Stack, save image. Gimp 2(instead of photo shop). Colors, Adjust Curves for more contrast, and to darken sky(but not to dark), then Filter to Sharpen (sharpness:15). |
-9/30/2014
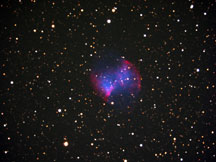
-M27 "Dumbbell Nebula"
-3 x 5min exposures
-ST2K ccd cam
- (-) 20 degrees chip temperature
Steps in ccd opts.
-Dark Subtracted: DKS5-20.st2K
-Flat Field: fOct 30-3.st2k
-Color Processed: SRGB + Gamma
-Stacked in rigistacks
-Photoshop
- used levels and curves
- upped the saturation
- upped the vibrance
- isolated the nebula
- upped the saturation
- upped the contrast
|
on 10-7-14 at 8:51 pm, magnitude 5.80, size 20.0 arc minutes, distance 7kpc. 25.1 kly.
Two pictures were taken and flat fielded with f oct30-3st2k with camera st2000xcm, dk5-30.st2k -20 degree celsius. It was a humid night with frost on the lens. Color processor SRGB with Gamma. Stack size "2/2". There was only 2 pictures possible due to moisture and fog.
In Photoshop I first used a clone stamp tool to eliminate the frost in three corners. I altered image in image:layers by changing the input and output making image blacker and whites whiter. I reduced color noise in filter as well. I then "unsharpened mask" in sharpened image. I then test printed and "clone stamped" and then "fade clone stamp" some more and added black levels and rotated 90 degrees printed and then undid the rotation.
|
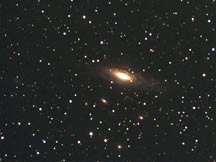
NGC 7331 (aka Caldwell 30) - four five-minute exposures, taken 10/21/14 with the ST2000xcm camera through a 12" reflector. Each image was dark subtracted at -23 degrees and flatfielded. I then used the RGB + Gamma method to colorize the images. Next, I imported all 4 to Registacks, where I selected a reference star and allowed the program to handle the rest. Finally, I brought the resulting image into PhotoShop where I used Curves to adjust the brightness and color levels, then used the Healing Brush to remove bad pixels. The resulting image was printed on high-quality glossy photo paper.
|
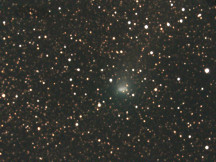
Comet Jacques in Aquila
|
Jessica Sherman photo taken with Rick Nolthenius of The North Bear Nebula, Catalog # IC1795 in the Cassiopeia constellation. 3 5-minute exposure photos were taken starting at 9:55pm on September 30, 2014 using the 12 inch telescope and st 2000 xcm. Taken at the Cabrillo Observatory Dome, chip temperature was -20 degrees on a clear night with a bright crescent moon, there were no clouds throughout the night.
With CCDOPS on each picture I Dark Subtracted DKS5-20 then flat fielded with f.oct30 and finally color processed it with SRGB + Gamma and saved each picture.
Registax: Version 6 was used to align all 3 photos at once using the brightest center star and then stacked the photos together and saved the photo.
I placed the stacked photo in Photoshop where I adjusted saturation and curves to help darken my background and brighten my color.
|
IC63, emission nebula. Michelle Castagnetto, 12" telescope, ST 2000 XCM camera, 9:22 PM on November 25th 2014 at the Cabrillo Observatory. 65'above horizon. -30 degrees celsius. No moon, clear and cold night.CCDOPS dark subtract, flat field,color process sRGB+gamma. Registax 3 frame stack.Photoshop CS6 levels, curves, saturation +3, make stars smaller, reduce space noise, image rotate 180 degrees,resize for gallery
|
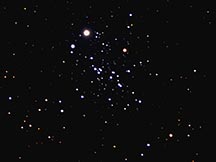
Sean Schlaefli
|
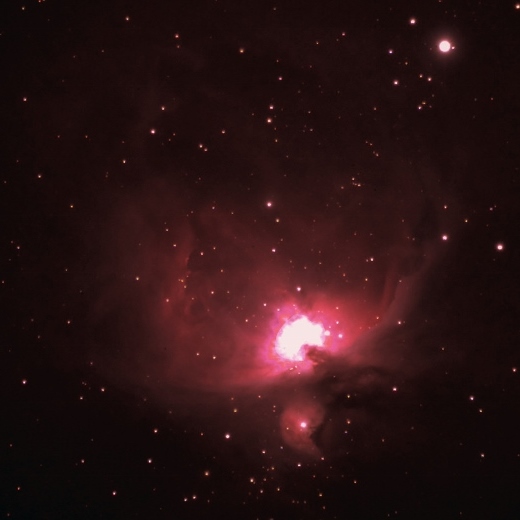
Adrian Jimenez "Orion Nebula" Catalog # M-42 taken by Rick Nolthenius on 11/25/14 at 10 pm using the 12 ich telescope taken at the Cabrillo observatory. Chip temp -30 Sky conditions minimal light pollution, no moon, fairly humid and toe freezing. steps in ccd opts.. Dark subtracted DKS5 -30 Flat field Foct30-3 Color processed SRGB+gamma stacked in right stacks Photo shop i adjusted the saturation, contrast, vibrance levels and curves. |
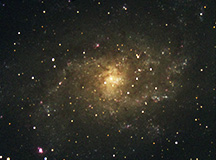
3 images were taken with the st2000xcm 12" telescope on 8/28/2014 starting at @ 8:30. Sky conditions were clear, medium/small crescent moon ~100 degrees west of the telescope direction. Cold night with some fallen dew on the lens. While taken the pictures the Y axis wandered significantly more than the X axis (for each photo). In CCDOps, the dark frame used was dk5-23.ST2K, and flat-field was fOct30-3.ST2K. Color processed with SRGB + Gamma, and stacked in Registax using a star in the upper left field as the stacking point. Taken into Photoshop, first thing I noticed was RGB speckles all over the image. I tried despeckling, but that didn't work, so I used Healing Brush(?) to re-color them to a more correct color. Used the levels and curves to make bright things brighter, and dark things darker. I brought the saturation up to ~+5. Using the astronomy tools uploaded onto the PC, I made the stars smaller, reduced the noise, and sharpened deep space objects (M33 itself). Upon outside input, I again made bright brighter, and dark darker, losing the "visible" star in the center, but gaining better view of the arms. The image still seemed grainy, but any further actions seemed to either not change anything, or make it worse, but the grainy-ness didn't seem to detracting from the image itself. |
November 25th 2014. Wizard nebula (NGC 7380). Cephius. slight crescent moon. Cabrillo College observatory.12’ Mead st 200xcm. ST2K ccd. 3x5 minute exposure images. 8:59:17, dome tempature -30 C.Registax. Dark Subtracted DKS5-30. flat fielded f.oct30. color processed with SRGB + Gamma. Photoshop CS6. selective color. Adjusted the levels. desaturated. Resize. Export
|
Joel Castellanos -Little dumbbell Nebula Messier-76 in constellation perseus. -2 x 5 min exposures taken on Nov 25, 2014 at the Cabrillo observatory -Chip temperature -30. Two exposures of five minutes each were taken of the Little Dumbbell Nebula using a St2000xcm camera and a 12” telescope. Using CCDops for initial processing I corrected Darkness by using Dark subtract followed by flat field to correct darker corners and ended the process with Single shot Color using RGB + gamma and getting some color in the photo in preparation for stacking the two images on Registax. Once I corrected the images I opened Registax and “stacked” the 2 images by stretching intensity levels, then I processed in color. After I aligned the pictures by selecting default method, Alignbox size 128 and choose the lowest quality to insure all the images would be used. First I choose 1 image using a very bright star near M-76 then converting it to a TIFF file for use in Photoshop. Once in Photoshop I used curves to tweak my black color and get a better quality picture. I adjusted the saturation to increase the colors, followed by Unsharp mask. I then adjusted the resolution to 300 pixels per inch and saved as a .jpg format. That about sums up my process on this Astro photograph.
|
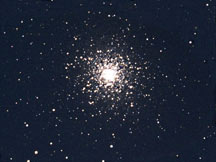
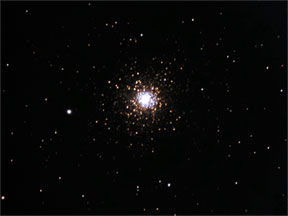
After the images were taken, they were put into a computer program on campus called "CCDOPs," where I had to do dark subtracting, flat fielding, and color conversion on all three of my photographs. Once I got the original RAW image files from Rick, based on the night I took my pictures, I had to set the CCD program to the right field degree. My DK5 was -20, so after I entered this I could properly dark subtract my photo. Once I found my "dark frame," I had to chose the 'standard' option to correctly dark subtract all of my photos properly (so they all came out the same for when I stacked them). Since my image was taken with a 12 inch scope under the dome, I had to flat field it because the corners were too light and needed to be corrected to match the rest of the photo.Then I converted my images to color by using the single shot color box. since M15 is a globular cluster, rick recommended I use the DDP method. I had to adjust the back (which ended up being zero), and range (which was 225) for the best color results when processed (unprocessed was 4586 and 8284). I did this process three times, and then sent them to myself to be processed in a photo stacking program called Registax. By stacking all three of my finished CCD photo's, my final single image would be clearer than just one. After uploading all three images, I selected the default alignment program and picked an 'alignment' star to stack up all my photo's. From there I saved the file and went on to do my final edits in Adobe Photoshop CS4. When I opened the image in Photoshop, I first decided to mess around with the simple brightness and contrast tabs to see if I could draw less attention from the really bright center of the star cluster. After finding a setting that fit, I used the eye dropper tool to match my background night sky so I could edit out small unwanted red, blue, and green dots. After this process, I edited the saturation and temperature of the image, because most of my outer starts were red, but around the cluster itself was a slightly blue ring I wanted to bring out some more. I also messed with the 'curves' settings to get my night sky to be dark, but not fully pitch black. For my final step, I 'sharpened' the image as best I could so everything looked a little less fuzzy and more detailed. I'm very impressed with the way my globular cluster image came out, and I'm proud of it after all the steps it took. |
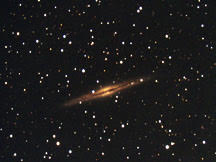
(Shane) First I had to choose my deep sky object and found that NGC 891 would be a good choice due to its spiral and bright yellow center. The night of the shoot was a moon and the class was conducting occultation’s and the light was a factor. We took 3 took three photos however it took 5 attempts due to the camera unsteady movement. The photos where 5 minutes exposures and the tempature was -30 on 10/28/14. Once I had the image I had to use drak frame correct on mag box by seleting 1:2 ratio. In addition I had to correct for Flat field. After this step I followed the directions in order which deeed I had to convert to color. This process I had to use single shot color box and use SRB+ Gamma. Once I did this I had to save images as a TIFF. Which led me to Use Registax inorder to triple stack my imagine to produce a better quity of picture. After this process I was able to finally use Photoshop. This however was my most challenging process because im a novice when using this program in addition to being extremely color blind. To find correct contrast i had to find the balance between a dark black sky which made my main imagine pop but, in doing so also lost outer lining of image. When looking for green stars also found challenging because due to aforementioned colordeficientness. However, I continued and powered through curves and levels where I again tried to find the balance between the loosening image and having appropriate back round. I felt that finding hue and saturation levels where difficult and felt I made the appropriate judgment call on my image as not to lose the scientific integrity of the image. After this process I downloaded Noel Carbonis Photo shop I tired to add the actions of space reduction, local contrast enhance, and make stars smaller, however after each use I only noticed only subtle differences After this prcess I began to resize my images to send to the professor. All in all this process was a difficult one that took hours of time I am proud of the one about to turn in and will be hanging an 8 by 10 frame |
Stephanie Striegel/Rick Nolthenius
10/21/14 20:00 @ Cabrillo Observatory
3x5 ST2000xcm, 12" Meade
Clear, dry night, no moon, no wind
17 degree declination
Chip cooled to -21C
Dark Subtracted with DKS5-20.st2k
Flat fielded with fOct30-3.st2k
Color Processed SRGB with Gamma
Stacked in Registax
Upped contrast
Upped saturation
Added red hue
Overlay layer
|
Orion Nebula (M42), Trent Cates. CCDOPS;Flat field, dark subtract, color process of sRGB-Gamma. Registax; version 5, stack of three photos Adobe Photoshop; version 6, make three layers, highten contrast, reduction of blue, localised brightness reductions, complete reversion to base colors and modified opacity for two layers, darken both layes background, sharpen both,reduce contrast on one, stack of all three,reduce contrast,highten brightness, modified intensity of red, crop and size for print and gallery. |
Hercules star cluster, M13. The time was 20:33 and a 300 second exposure. Cabrillo Observatory Dome CCDOPS. Full moon, no wind, and zero clouds. In photo shop Adjusted curves to make darker image. Lowered brightness. Raised the contrast. Also adjusted the saturation to +23. Used healing brush and removed odd colored pixels. Adjusted grain by using grain reducer twice. In registax, stacked 2 frames. Dark subtract -27c. Framed 5 by 5 because image fit better in a square format.
|
NGC 247, intermediate spiral galaxy. Mark Runyan, 12" Meade LX200, ST2000XCM, 4x2 min Nov. 28, 2014, 20:14:13-20:29:02 LT, Cabrillo Observatory Dome CCDOPS: Version 5.5 build 28-NT 1.dk5 -25C, flat frame, Color: Single-shot color sRGB+gamma, Registax: Satck with color, stack 3 frames, Default Alignment, align box size : 128, lowest quality 0, Photoshop: Version 6 CC (64bit), adjusted RGB levels lowering white balance, adjusted BW levels increasing black balance, adjusted saturation, burn tool, reduce noise, curves, levels |
no thumb
"Orion Nebula" Catalog # M-42 taken by Rick Nolthenius, Adrian, Eli and a few others on 11/25/14 at 10 pm using the 12 inch telescope at the Cabrillo observatory. Chip temp -30 Sky conditions minimal light pollution, no moon, fairly humid and freezing. Steps in ccd opts.. Dark subtracted Flat field Color processed SRGB+gamma stacked in right stacks Photo shop adjusted the saturation, contrast, levels and curves could not save for web.
|