This Fall's class had some lively outdoor sessions, many clear nights, and alas - trouble with the 12" Scope and computer system, which will take some doing to repair. BUT, I secured images from my Nikon D7000 camera both at the Observatory and during the field trip, to supplement and give the students good options for doing their images.
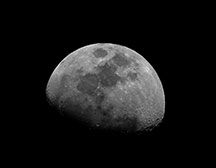
Maddy; (no label/techniques provided) (sized right) |
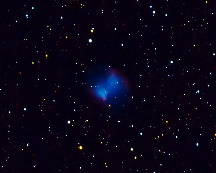
(Ash) Dumbell Nebula (M27, NGC 6853), Planitary Nebula. Dr Rick Nolthenius, Fall 2022, Sierra Nevada range. Ash Texidor, Registax: Version 5.1.9.2, Stack 5 frames. Paint.net: Version 4.3.12, Sharpen by 20%, Contrast increase by 8%, Saturation at 133%, Curves at B(66,74) B(86, 108) R(93, 111) G(151,247), Noise reduction at radius 10 and strength 0.40, Curves at RB(41, 61) RB(87, 99), Resize, Noise reduction at radius 20 and strength 0.40 (unformatted, sized right, no photo date) |
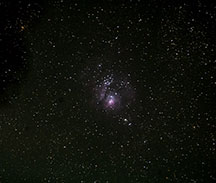
Itzamara Gonzalez The Lagoon Nebula – photographed with the Nikon M7000 through a Williams Optics GT81. Each image was dark frame corrected and colorized. All of them were corrected colorized images were stacked in RegiStax using a multipoint method. The stacked images were edited in Photoshop, using astronomy tools to make the nebula pop out. (unformatted, sized right, no photo date) |
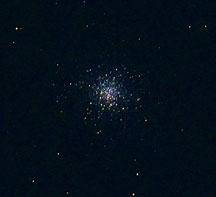
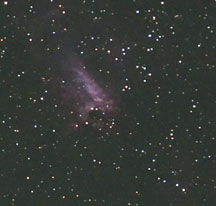
Cade Knorr (slightly formatted. sized right, no photo location) |
Star/Nebula Name: Omega Nebula (M17)
Image Time: 9/27/22 9:15 PM
Location: Cabrillo College Observatory
Weather: Open Sky, No Clouds, Cold Weather!,
Steps:
(formatted, sized right) |
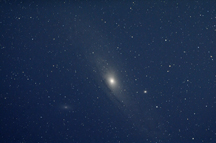
Madelynn Barrios, Andromeda Galaxy (M31), Camera: Nikon D7000, Telescope: Williams Optics GTF81, Date: Sept. 13, 2022 Time: 21:30 PT, Cabrillo Observatory. 6 exposures were taken of M31. The sky was a bit hazy, and brightly lit by the moon that had just barely left its full moon phase, entering into waning gibbous at this point in time. Registax5 was used to subtract the 30s exposure dark frame, as well as to stack and align all 6 images taken of M31. The resulting stacked photo was then saved from Registax5 as a .TIFF file and uploaded onto Photoshop19, where the following photo adjustments were made: RGB Curve to darken the darker shades and to pull out the middle tone grays, bringing forward the finer details of M31; Light Pollution Removal as an attempt to combat the bright sky that the photos were taken in, and the Spot Healing Brush Tool to remove specks of camera lens dust that were captured within the images. Color curve adjustments and adjustments to the hue and saturation were attempted with Dr. Rick's assistance, but no significant differences resulted in the images despite our best attempts to draw out the true colors of M31 within the photos. We suspect that this unforeseen color difficulty was a result of the night's haze and overall bright sky conditions that we shot in. Lastly, the final edited image was resized to the proper measurements and pixel counts needed for submission. The images were saved as .jpeg files and were emailed to Dr. Rick. (print jpg sent is as well. Illness during final exam submission day) |
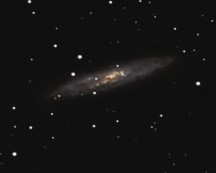
(Weiss) My presentation of the Sculptor Galaxy (NGC 253) is compiled from 14 photos collected on a Nikon D7000 through a Williams Optics GTF81 telescope on September 25th, 2022. The process taken to achieve this quality image was intensive and took several hours to complete, excluding rendering times. The first step was to compile the photos through Registax. I chose a multi-reference point stacking method, with three points in an equilateral triangle centered on NGC 253’s central supermassive black hole. I forwent subtracting the dark frame, as the dark frame removal was erroneously subtracting portions of the galaxy. Once this was finished, I color corrected the image by fine tuning both the light curve into a gentle S shape and the R/G/B color balance until proper blue and red colors were achieved from the originally yellow and green image. While this produced an excellent photo, it did cause rings to form around the stars that were out of place. From there, I sent the photo through a multi-stage antialiasing filter in GIMP. This removed many of the rings, but showed how low resolution the photo actually was due to the wide depth of field from the source photographs. I simply could not allow this and decided to pass it through a neural net-based upscaler to provide some increased resolution to allow more work to be done. Then, I applied a gaussian blur to make the harsh edges of the stars and galaxy softer. I finally applied a gentle glow to the core NGC 253 to add a slight artistic touch. I sized the images for printing and uploading, finishing the project with a beautiful work of art. (formatted, sized right) |
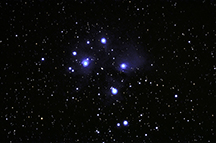
(Bianca) my steps: opened dark 30 in photoshop and converted to bmp. opened registax 6 and selected all 11 m45 pictures. selected dark frame using dark 30 bmp. I set align points and added settings (alignment method: default, align box size:128, lowest quality: 0). clicked stars as points, clicked align, clicked limit, clicked stack, saved image as tiff. tried this twice and both times it came out not right (really blue). tried the same process without the dark frame image, it was better but didn’t stack well. installed registax 5 to try the same thing. followed the same steps as before and it worked. loaded up image in photoshop. adjusted curve to make the sky a bit darker. turned up exposure to +15, turned up blue color balance all the way to show blue dust around stars. turn ed saturation up +5. cropped image. saved images in different formats (print, fakery, thumbnail). done yay. (unformatted, sized right. No photo date or location) |